Got a HD home movie camcorder already and ready to shoot the coming holiday gathering? We used to burn home movies to DVD for sharing sweet holiday videos with family and friends. However, nowadays more and more people would like to show the world their holiday home movies by uploading the videos to YouTube. It's easy and FREE!
In November 2008, YouTube added an option to watch videos in 720p HD, so the YouTube player was changed from a 4:3 aspect ratio to a widescreen 16:9. With this new feature, YouTube began a switchover to H.264/MPEG-4 AVC as its default video codec. In November 2009, 1080p HD support was added too. As we know, the recommended resolution to upload a HD home movies to YouTube is 1280 x 720, not 1920 x 1080 (1080p). So make sure you've captured HD home movies with 720p resolution.
To upload AVCHD home movies to YouTube, you have to convert the videos to YouTube accepted video formats first. We recommend you to use
iFunia AVCHD Converter for Mac to convert AVCHD videos to YouTube compatible video format for uploading.
Before you start, please download, install and launch
iFunia AVCHD Converter for Mac.
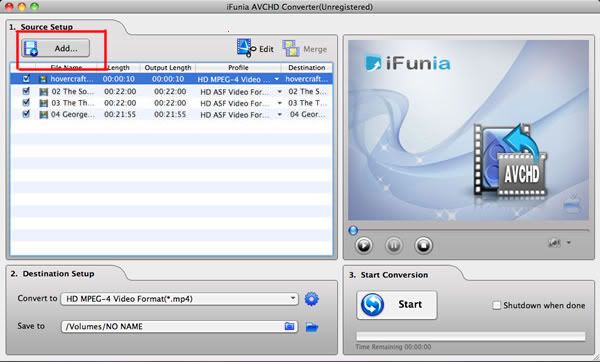
Step 1: Load video filesClick "Add
" button to select AVCHD M2TS video files. You can add your AVCHD M2TS video by drag-n-drop. And the software has a feature of previewing and playing your AVCHD video files. Simply select a file which you want to preview in the Source File area and click Play button; you can also take snapshot at will to store the image you like.
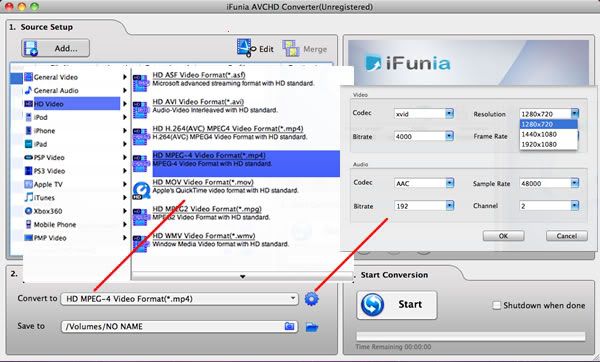
 Step 2: Select output format
Select one or more files in the file list, and select your preferred video format from the Output format drop-down menu. Here we choose MP4-MPEG4 Video File (*.mp4) video, and click the folder icon to specify a directory on your computer to save the output files.
 Step 3: Convert
After the above settings, check the needed files to convert in the file list, and click "Start" button on the window to start converting with
iFunia AVCHD Converter for Mac.
Step 4: Upload video to YouTubeOnce you've finished converting videos to YouTube acceptable format, made sure it's less than 10 minutes, smaller than 2GB in size, you're ready to upload it.
1. Click the Upload videos to YouTube button in the upper-right-hand corner of any YouTube page.
2. Click the "Browse" button to browse for the video file you'd like to upload to our site. Select the file you want to upload.
3. Click the 'Upload Video' button to start the uploading process.
4. As the video file is uploading, enter as much information about your video as possible in the relevant fields (including Title, Description, Tags, and Category). You're not required to provide specific information, but the more information you include, the easier it is for users to find your video!
5. Click the 'Save changes' button to save the updates you've made to the video file.
It can take from a couple minutes to an hour for your video to upload to YouTube. This depends on the file size of your video and the broadband speed of your network.
Related Tutorials:Convert AVCHD video to portable files on MacConvert AVCHD M2TS to AVI on MacPrepare your AVCHD video for YouTube?Convert AVCHD M2TS to MOV on Mac


 ven. 26 nov. 2010, 08:51

